
Hey hey hey my lovelies! All over Instagram for months on end, I’ve seen tonnes of makeup posts where there are BEAUTIFUL cut crease eye tutorials. I for one, love to look at it but in practise … it’s another story. However, it was my birthday the end of last month and I had a night out planned, so what better excuse right?
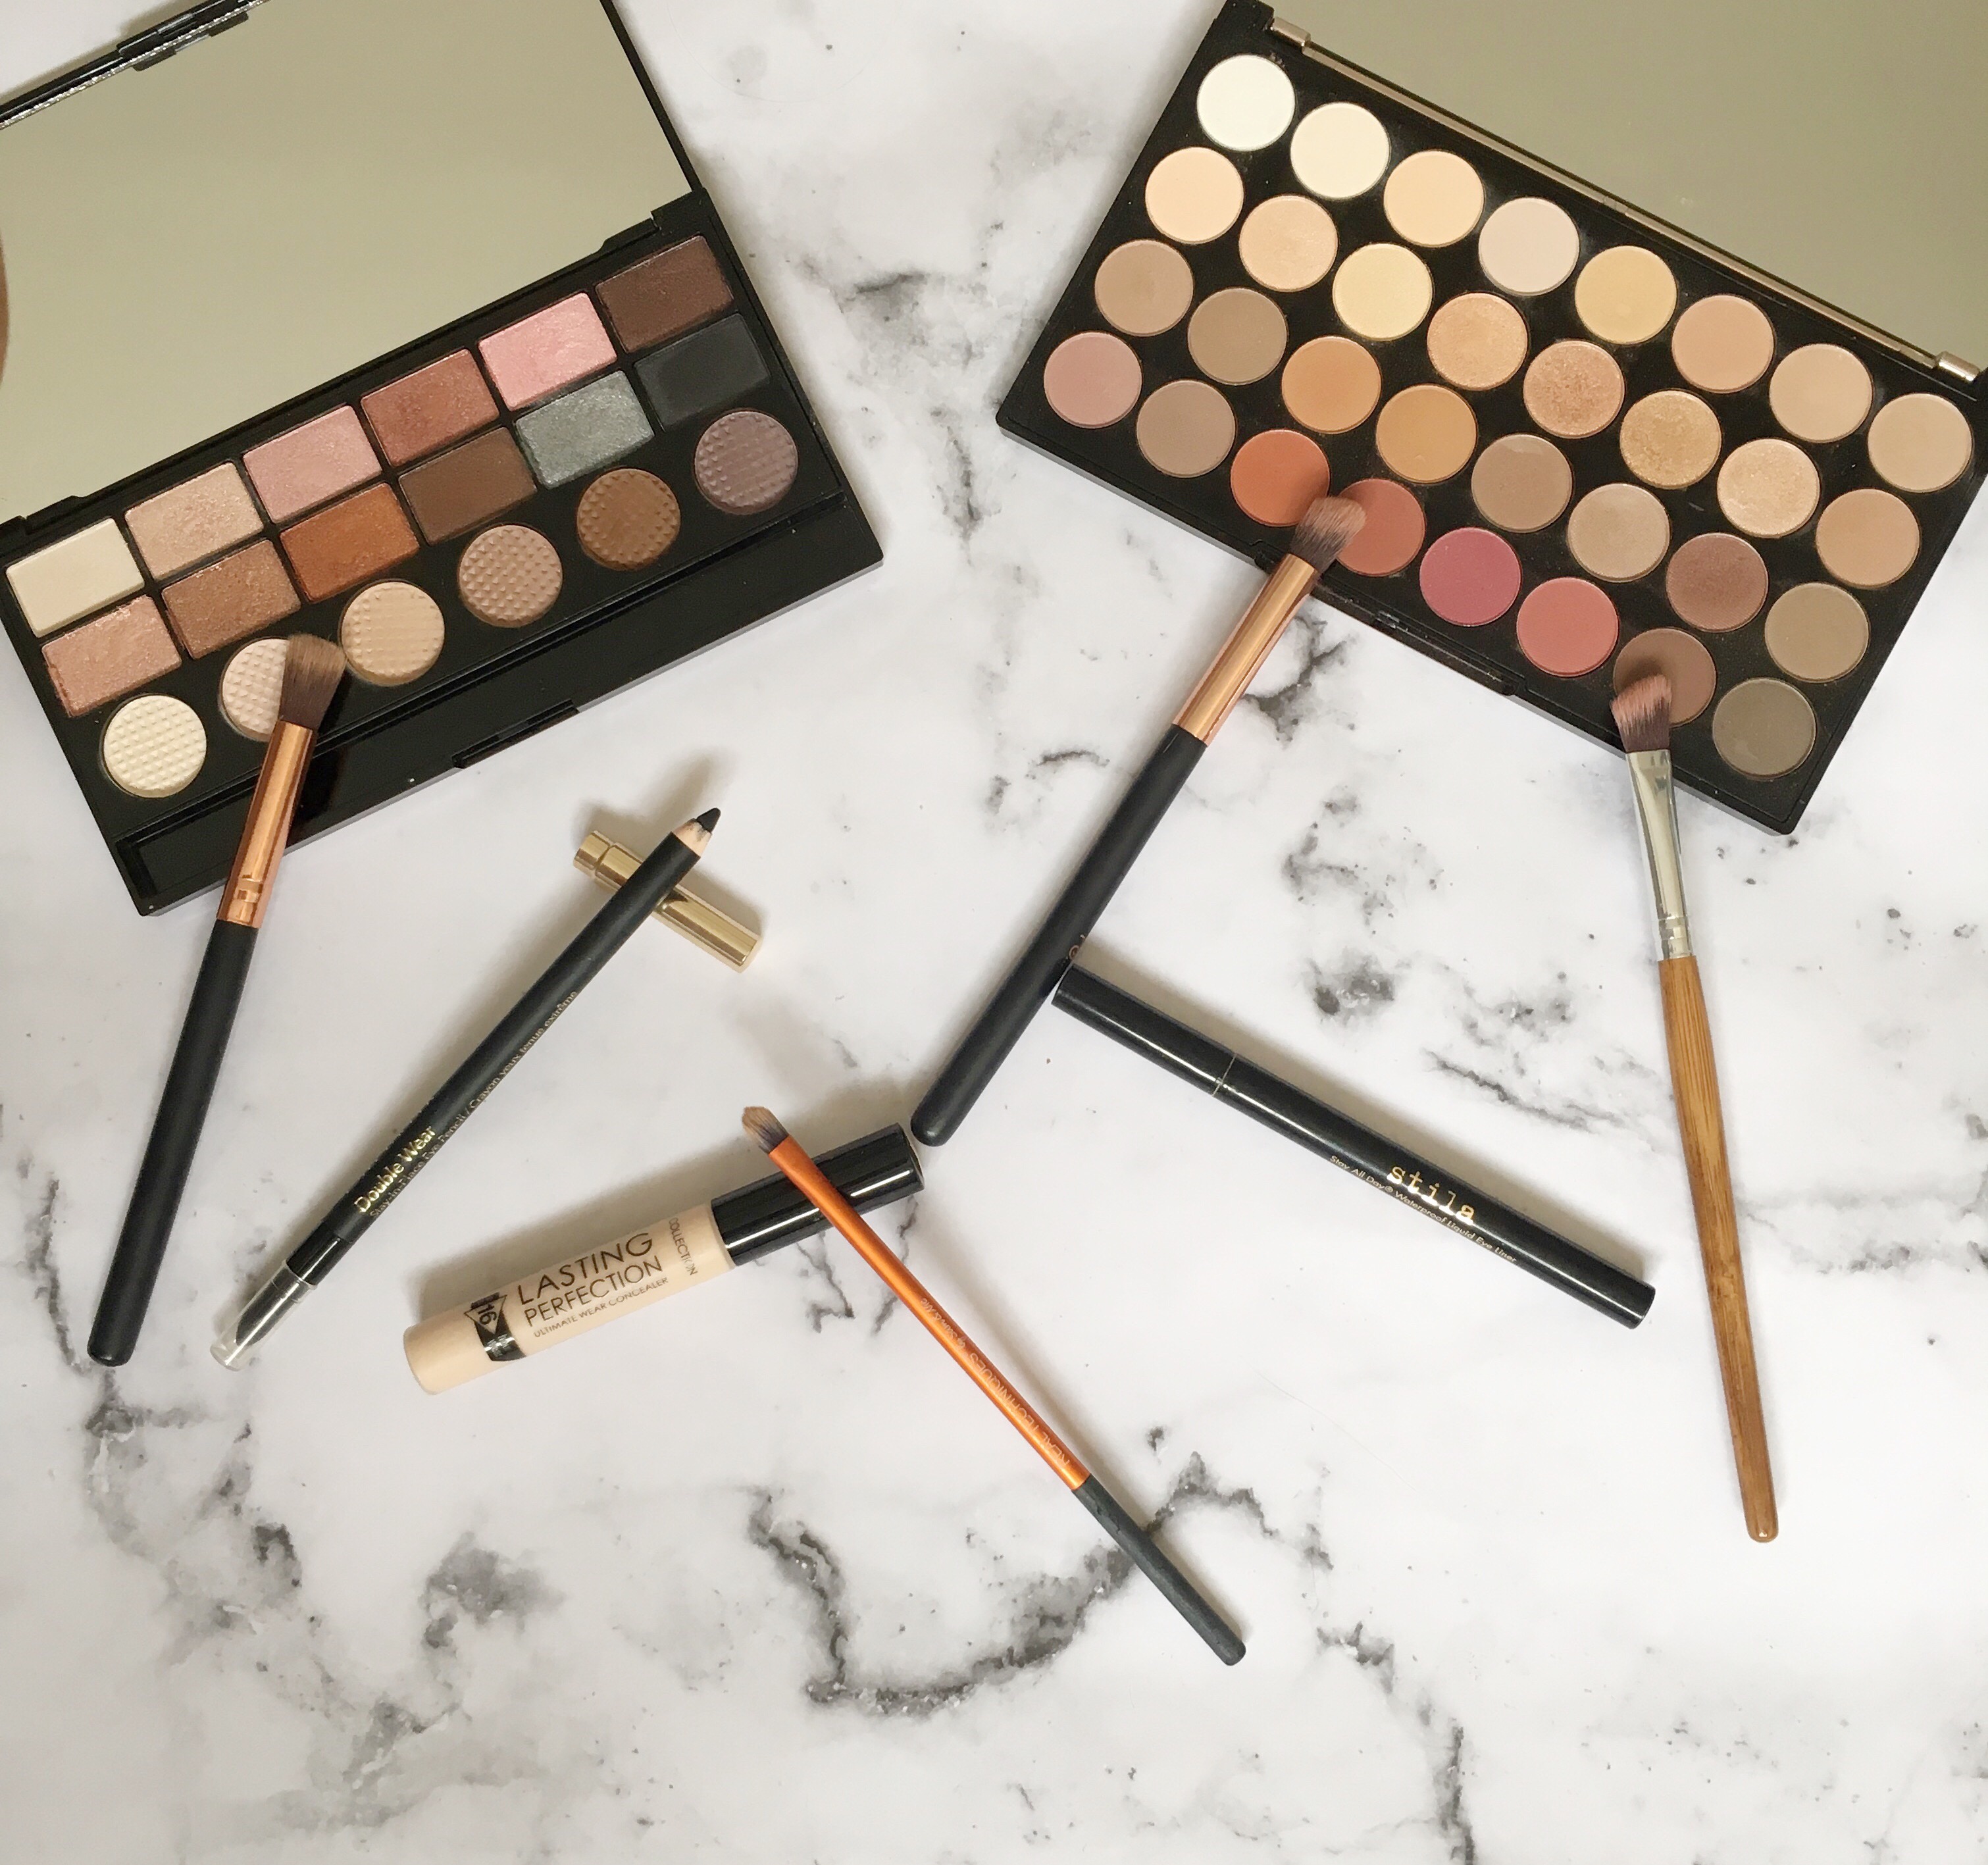
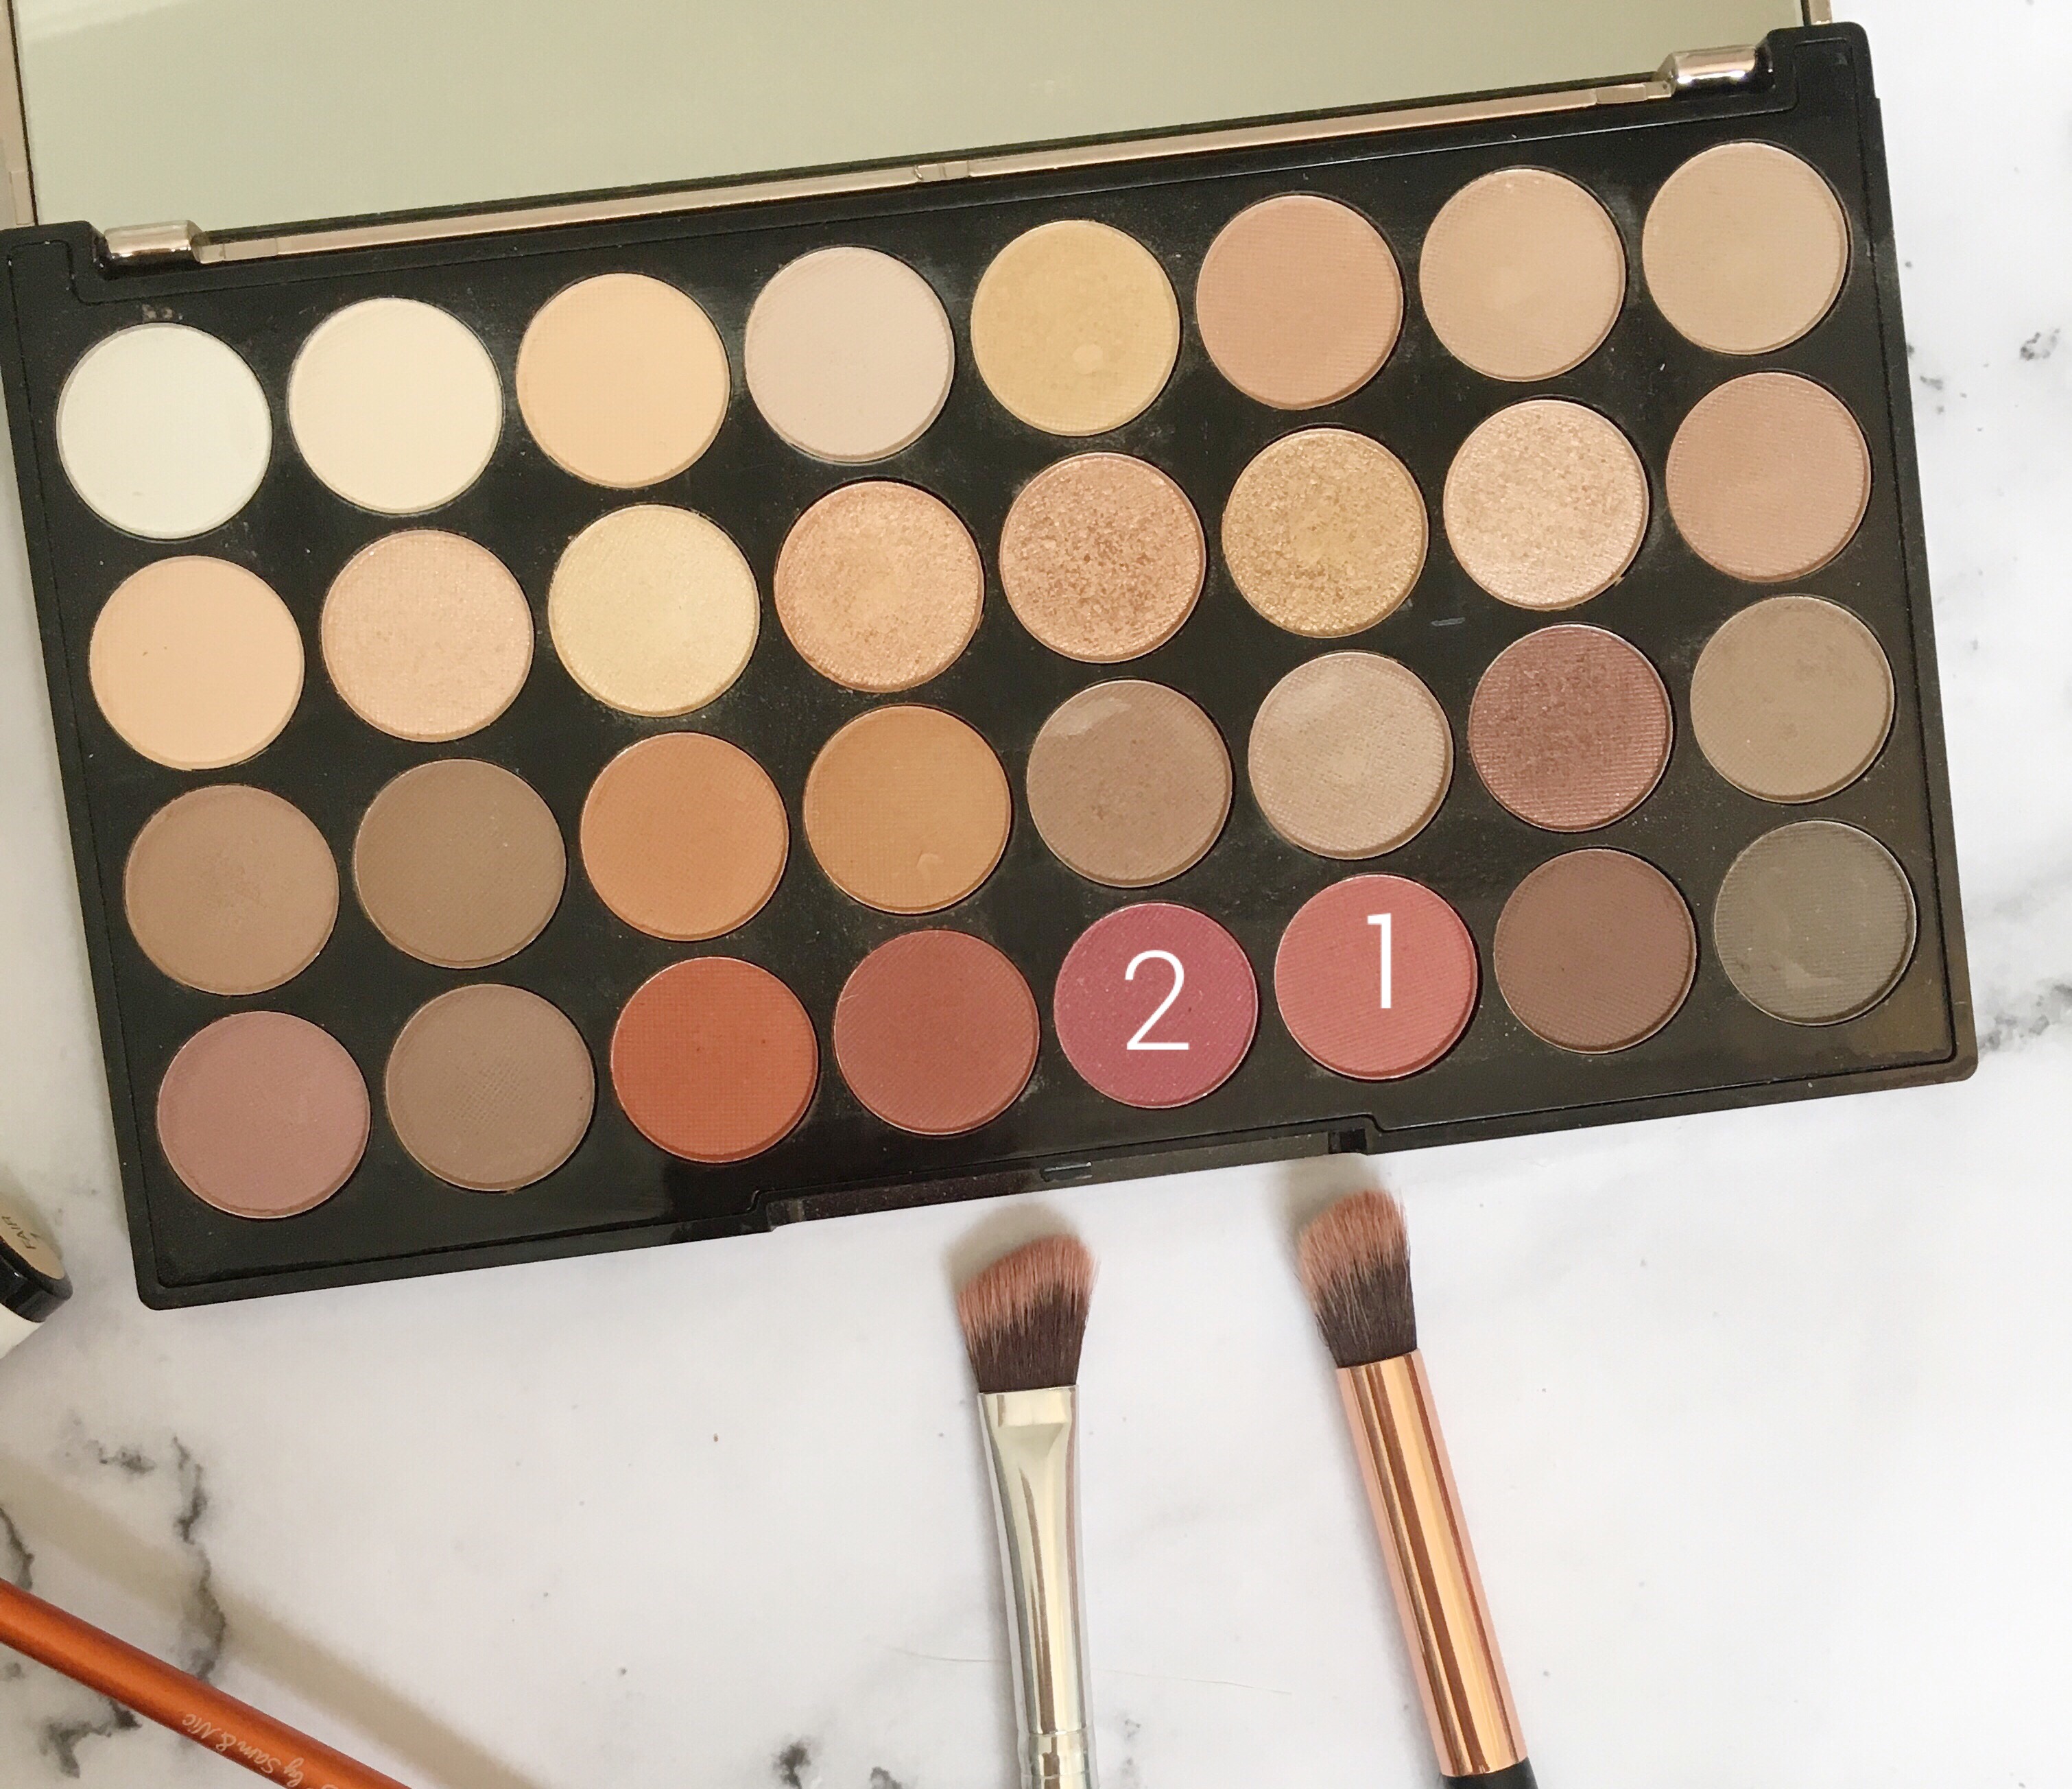
Step 1 really is as easy as it states. Just do gmt master ii fake your eyeshadow as you normally would. For my look I used to Makeup Revolution Flawless 3 Resurrection Palette – which we all know I’ve been obsessing over since I first purchased it (full review HERE). I used the shade labelled 1 all over the lid and up and slightly above my crease. I then went in with the shade labelled 2 and worked that into the crease and outer edge of my eye to create some depth. And then I went over this all with a clean, fluffy eyeshadow brush so it all was seamlessly blended.
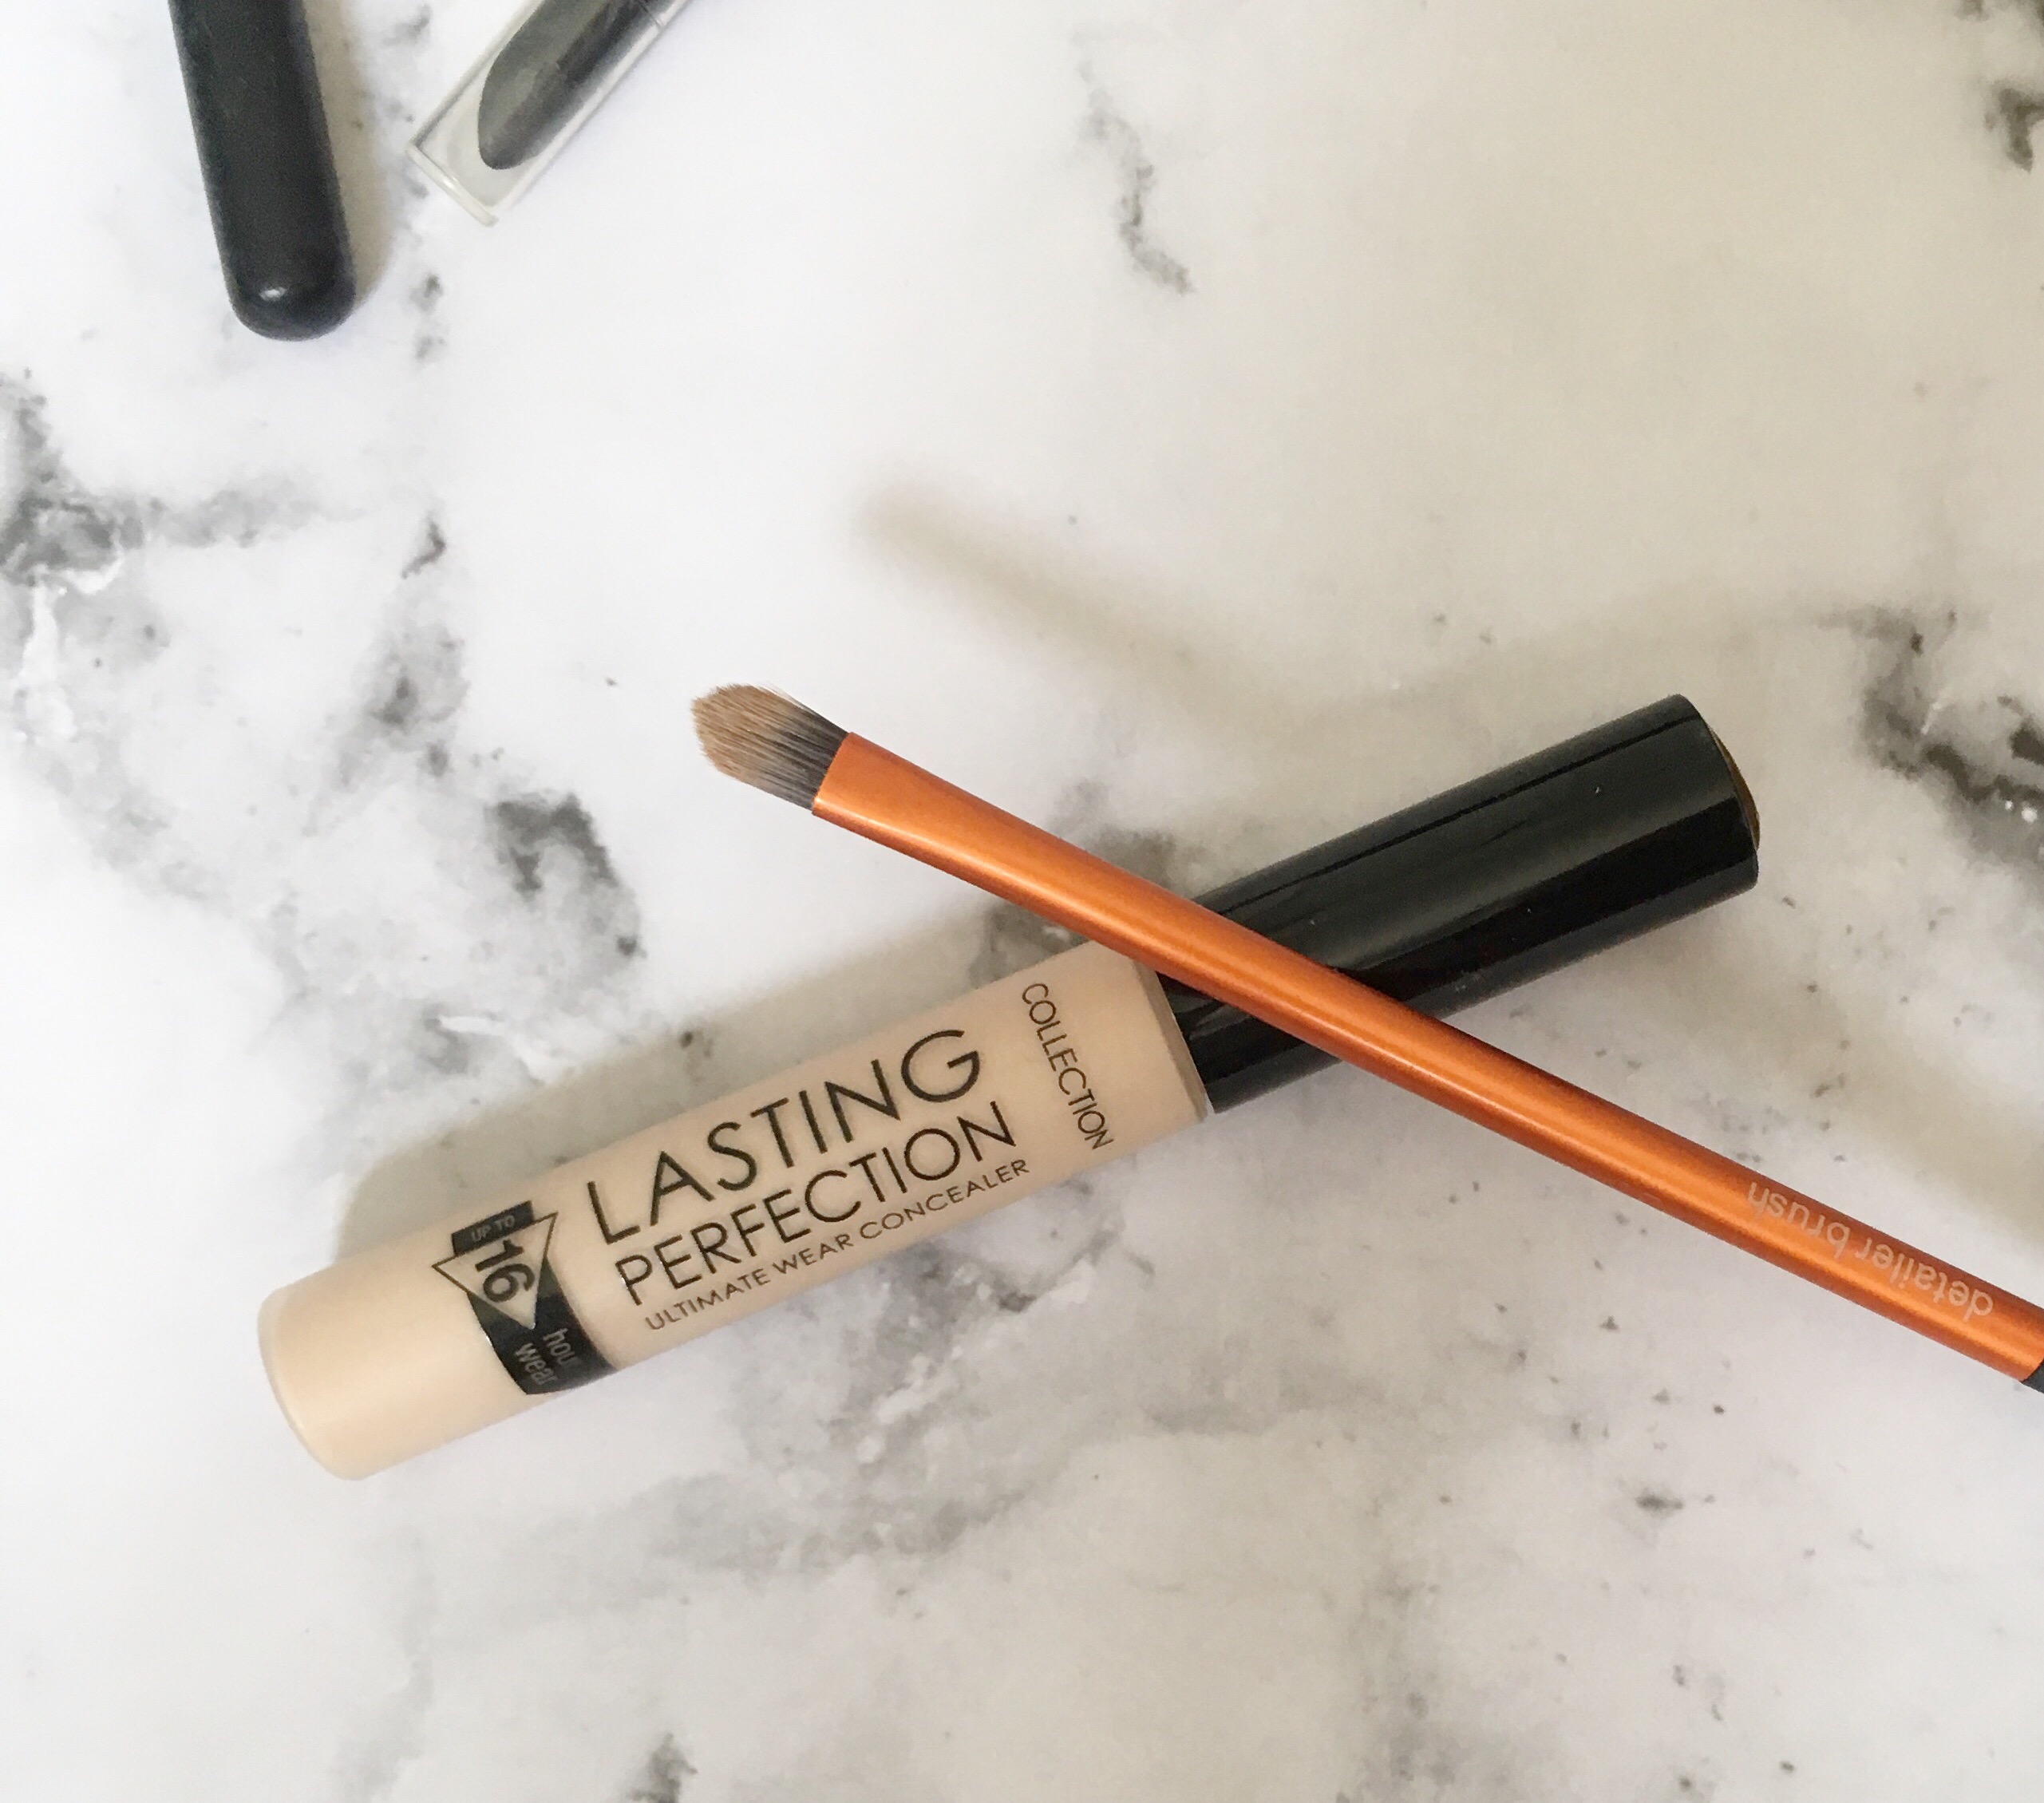
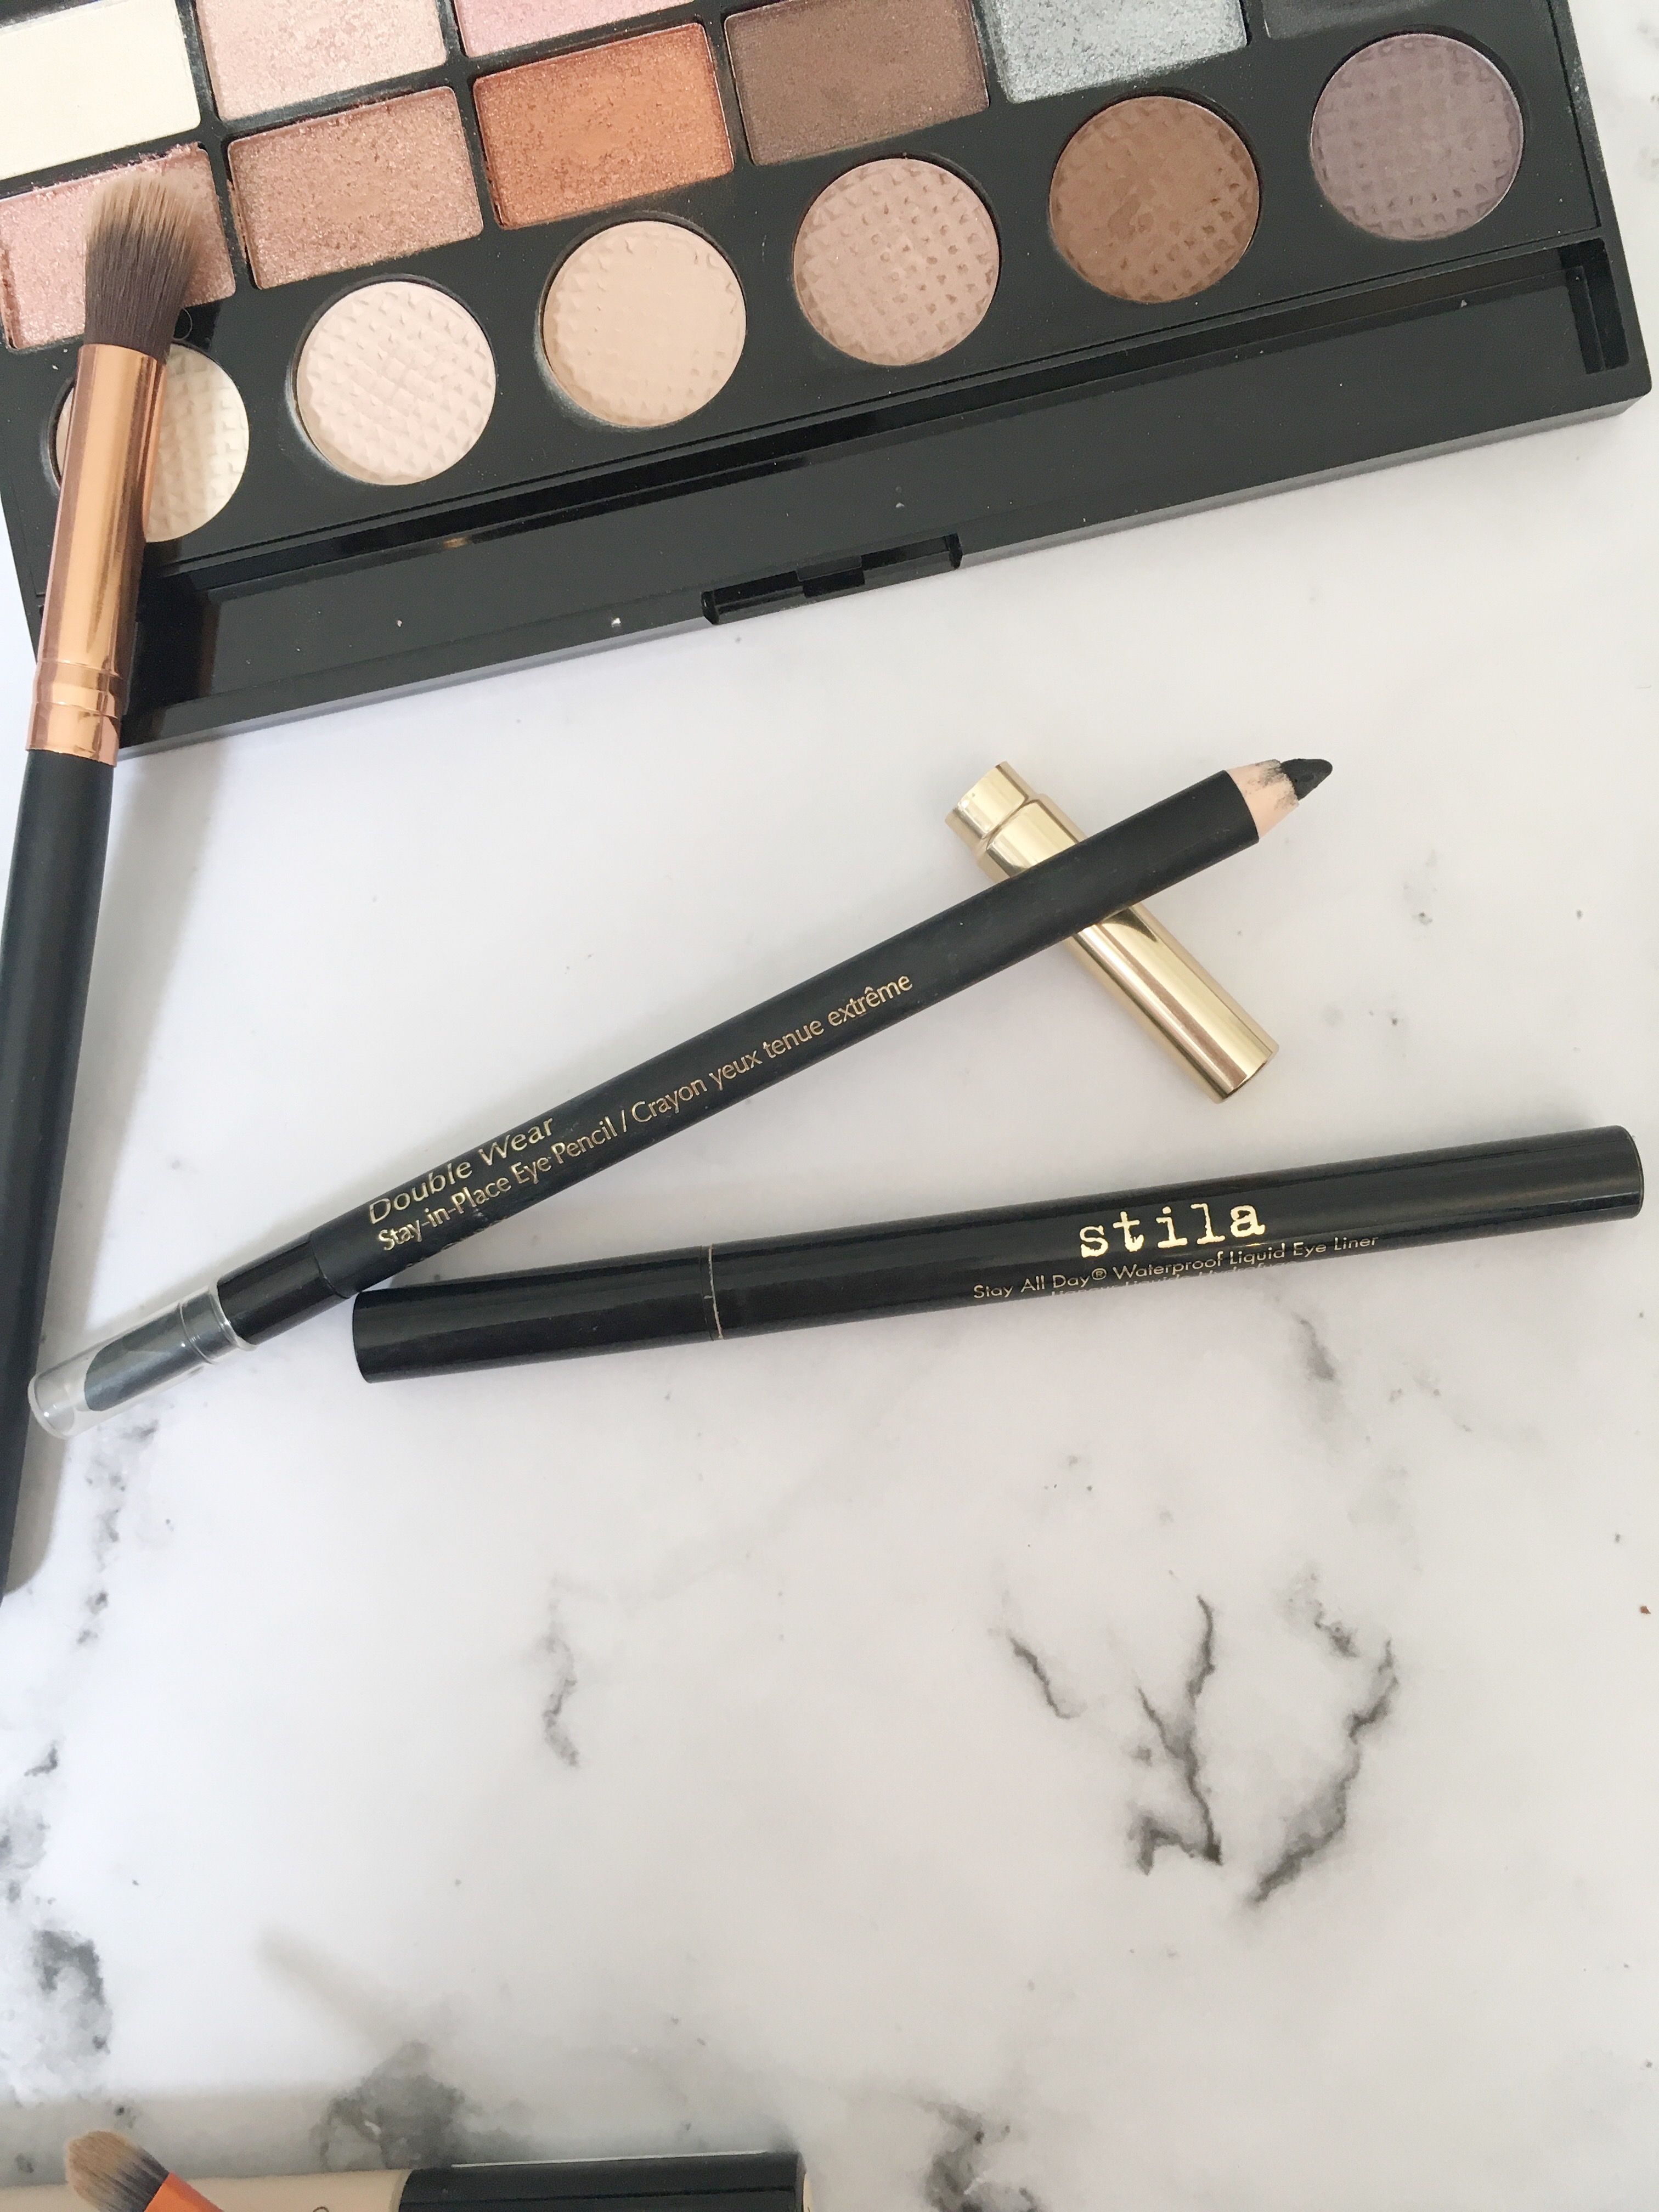
Right. This is where it gets tough, but don’t worry. I find if I’m panicked I start to rush and that’s when things start to look pants. So chill, and be slow and patient. With a small, dense and precise brush (I used a concealer brush) you’re going to take your liquid concealer and carve out your crease. The denser the brush and more angled YRCX Vape Dùng Một Lần the easier this will be. I personally did the whole eyelid first and then left the precision as the last step. Once you’ve finished, set the concealer so it doesn’t smudge anywhere.
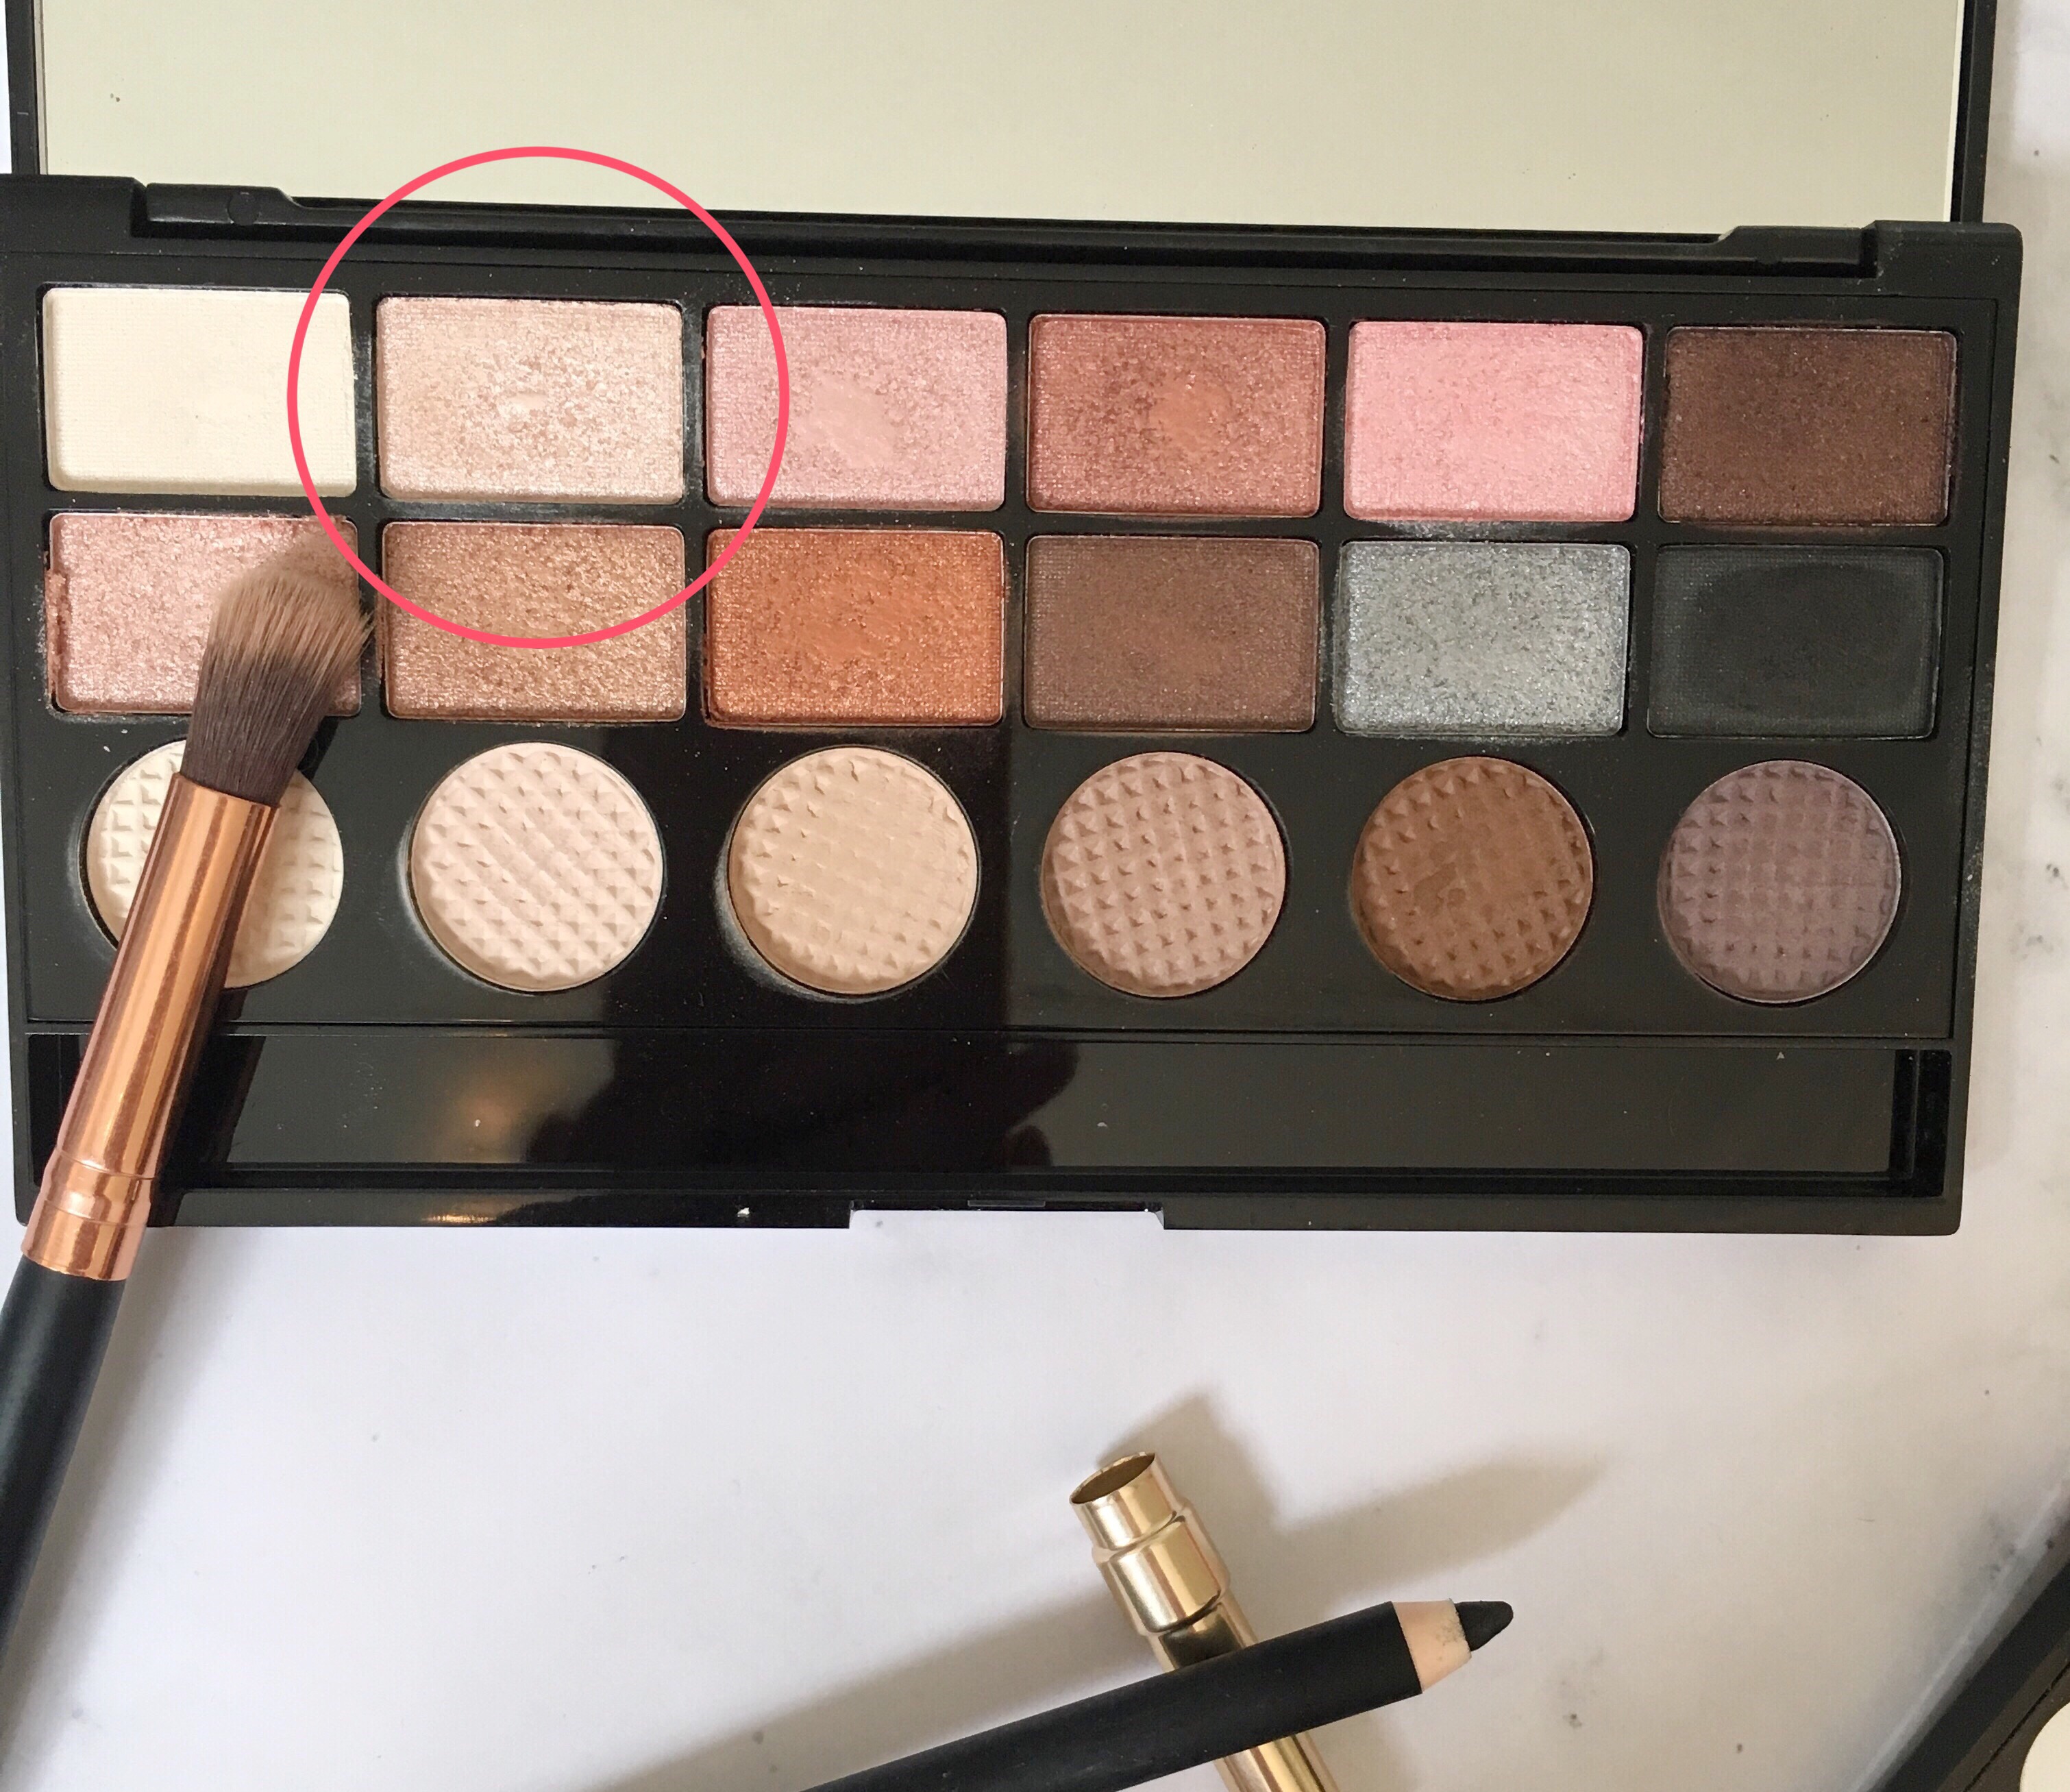
Now it’s time to chose your second colour, I personally chose a lighter shade with a lot of shimmer for a glam, evening look. I used the Makeup Revolution Girl Panic Palette which is absolutely packed out with gorgeous shimmery shades (full review HERE). And you’re going to pack this all over the lid, making sure to carry on being precise when it comes to the edges – no one likes sloppy lines!
To complete the look I did a thick winged liner (when do I ever not?!) and filled in my water line with a kohl liner and then smudged this out to eliminate any harshness. Chuck on some false lashes or mascara and you’re good to go!
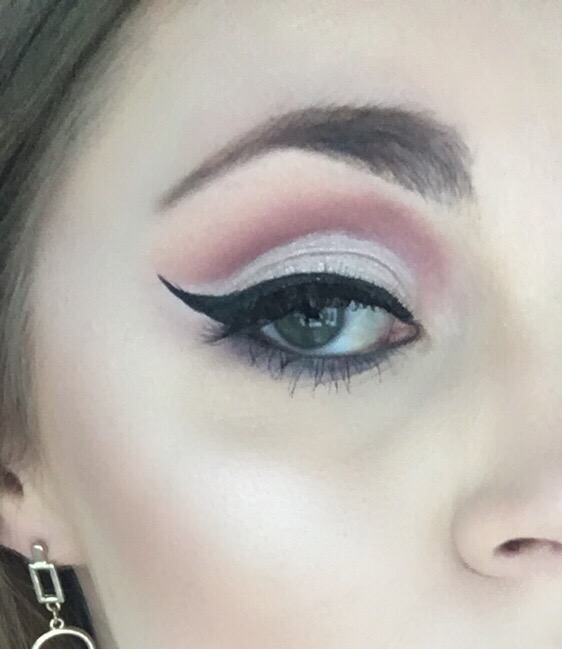
And there we have it, my first attempt at a cut crease, which definitely wasn’t as scary as I thought – going to be practising this until I’ve mastered it now! As always thank you for reading pickles, if you enjoyed this post then please follow me for future posts. Also be sure to head over to my social media links below to see what’s going on over there. Until next time babies xxx
This looks amazing! I wish I was as talented as you! xx
Awh you’re so sweet, thank you so much 🙊😘 xx
LOVED this 😍😍😍👏🏽
Yayyyy! I’m so glad you enjoyed it, have to let me know if you give it a go! XXX
For a first attempt of this difficult look you really nailed it. Loved reading your post, look forward to many more, Thankyou for the follow ❤️❤️
Awh thank you so much, was quite proud of myself haha! Thank you for reading lovely, and for the follow back! Excited to see what your next post is xxx
Ooh love the wing look!
Thank you xx